
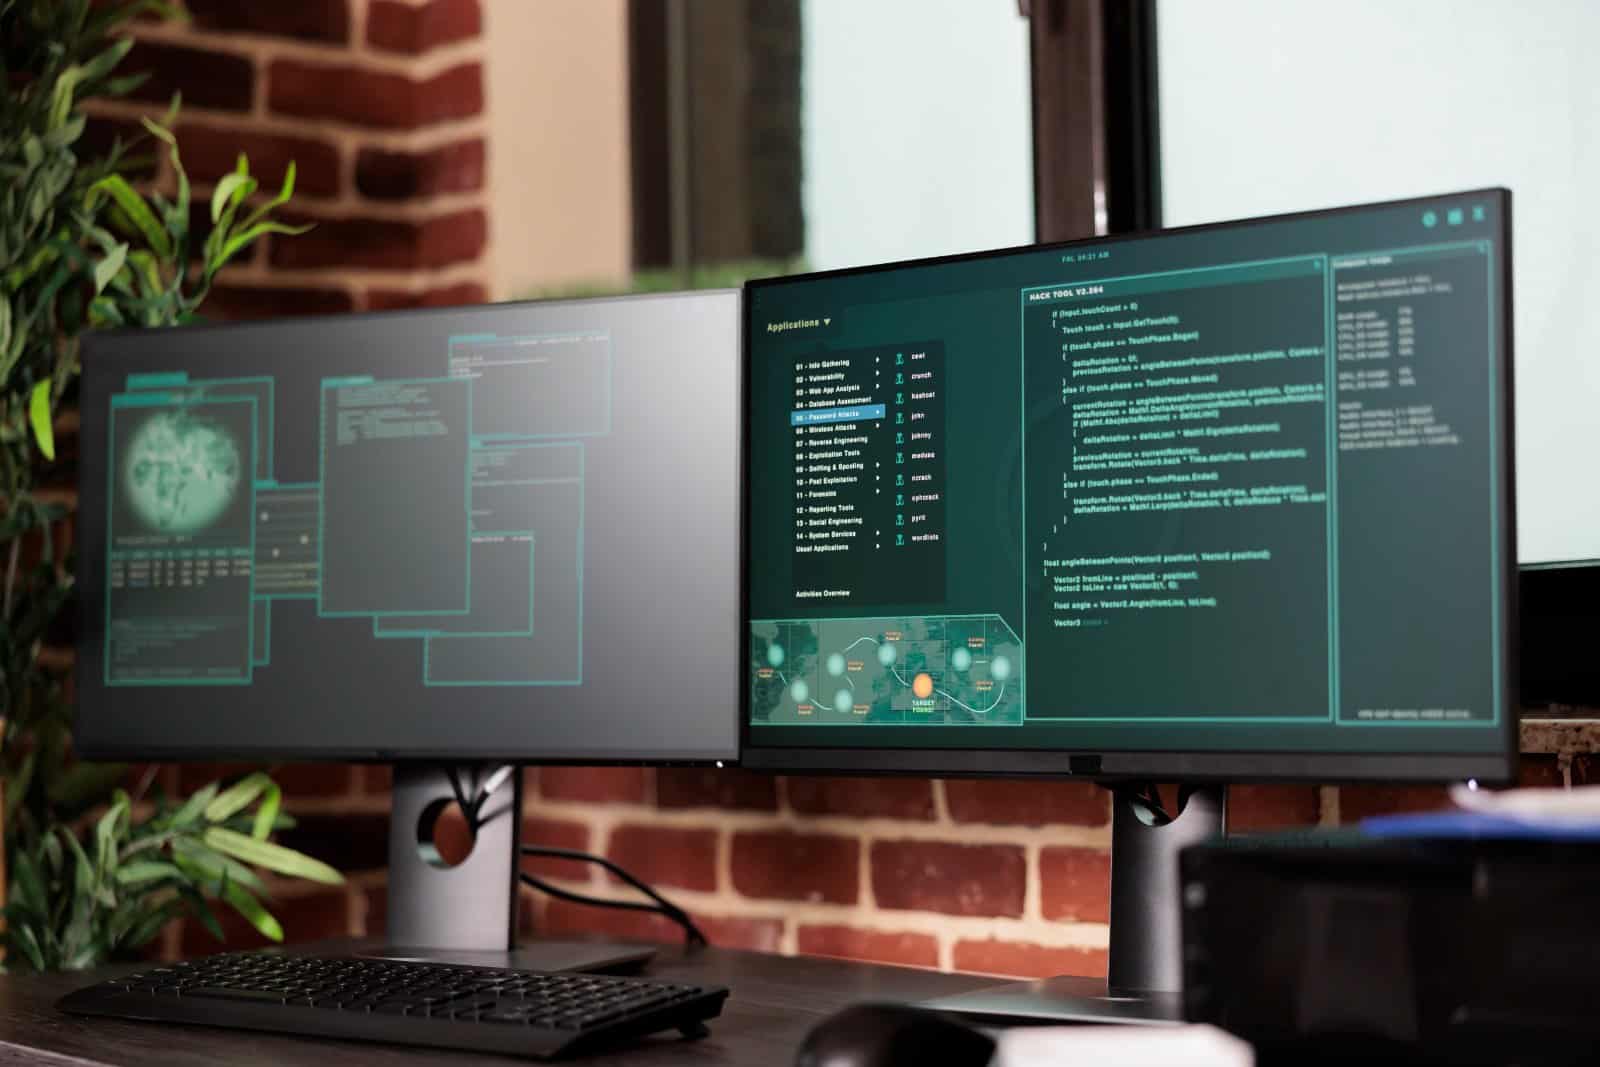
How to Extend Your Screen With an External Monitor on Windows or Mac
If you want to extend screen on Windows so your desktop spreads across two monitors, this guide walks you through it in a few clicks. It also covers the same steps for Mac users. The result: more screen space, less switching between windows.
Before You Start
- Make sure your external monitor is plugged in and powered on.
- Check that your cable (HDMI, DisplayPort, USB-C) is properly connected at both ends.
- You do not need admin rights for display settings on most work machines, but if menus are greyed out, you may need to ask your IT team.
How to Extend Screen on Windows
- Right-click on an empty area of your desktop.
- Select Display settings from the menu that appears.

- Scroll down to the Multiple displays section.
- Click the dropdown menu and select Extend these displays.

- Click Apply. Windows will ask if you want to keep the changes — click Keep changes.
- Your desktop now extends to the external monitor. You can drag windows from one screen to the other, and your mouse cursor will move between them freely.
- If the monitors feel the wrong way round — for example, your mouse disappears off the wrong edge — scroll up in Display Settings to the monitor diagram. Drag the numbered rectangles to match how your screens are physically arranged, then click Apply again.

You can also adjust resolution and orientation for each screen in the same Display Settings window.
For more detail on Windows display options, see Microsoft Support.
How to Extend Screen on a Mac
Mac users: the steps are slightly different. We have a separate guide that walks through the full process — How to Extend a Screen With an External Monitor on a Mac.
The short version:
- Connect your external monitor using the correct cable or adapter.
- Open the Apple menu (top-left corner) and go to System Settings (macOS Ventura or later) or System Preferences (older versions).
- Click Displays.
- Your Mac should detect the second screen. If it does not, click Detect Displays.
- Select the external monitor from the sidebar and look for the Use as dropdown.
- Choose Extended display.
- Click Done. You can drag the display arrangement to match your physical setup.
If That Didn’t Work
- Monitor not detected? Try unplugging the cable and plugging it back in. If you are using a USB-C hub or dock, connect directly to the laptop instead and test again.
- Wrong resolution or blurry image? Go back into Display Settings (Windows) or Displays (Mac) and manually set the resolution to the monitor’s native resolution — usually listed as Recommended.
- Extend option is greyed out on Windows? Your graphics driver may need updating. Open Device Manager, expand Display adapters, right-click your graphics card and select Update driver.
When to Ask Us
If the monitor worked before and has suddenly stopped being detected, or if the same problem is affecting more than one person in your team, it is worth getting a technician to check for a driver or hardware fault. Computer Care customers can raise a support ticket and we will pick it up from there.
For related help, you might also find our guide on How to Find Your WiFi Password on Windows useful if you are setting up a new workstation.